
Regular water heater flushing is vital for preventing sediment buildup, enhancing efficiency, and reducing energy costs. Annually recommended or more often in specific conditions, seasonal changes also prompt this maintenance. Using proper tools and safety precautions, including a garden hose, buckets, gloves, and protective eyewear, flush the tank, drain sediment, rinse with warm water, and reassemble securely. This routine maximizes performance, extends lifespan, prevents issues, improves water circulation, and ensures fresh water heating instead of heated sediment.
“Water heater flushing is an essential aspect of maintaining a reliable and efficient heating system. Regular flushing removes mineral buildup and sediment, preventing potential damage and ensuring optimal performance. This article guides you through the importance of water heater maintenance and provides a comprehensive step-by-step process.
From understanding the ‘why’ behind flushing to mastering the ‘how’, you’ll learn the necessary tools, safety precautions, and techniques to effectively maintain your water heater. Get ready to take control of your home’s hot water supply!”
- Understanding Water Heater Flushing: The Why and When
- Tools and Safety Precautions for Effective Flushing
- Step-by-Step Guide to Proper Water Heater Maintenance
Understanding Water Heater Flushing: The Why and When

Water heater flushing is an essential aspect of proper water heater maintenance, ensuring optimal performance and longevity. The process involves removing sediment buildup that can accumulate at the bottom of your tank over time. This sediment, often composed of minerals and metal particles, can cause various issues, leading to reduced heating efficiency, increased energy bills, and even potential damage to your water heater. Regular flushing helps prevent these problems by keeping the system clean and well-maintained.
The ‘when’ is just as crucial as the ‘why’. It’s recommended to flush your water heater at least once a year, but more frequent flushing might be necessary if you live in areas with hard water or if your heater is near its end of life. Seasonal changes can also prompt this maintenance step, ensuring your water heater is operating at peak performance when you need it the most, especially during colder months when demand for hot water increases.
Tools and Safety Precautions for Effective Flushing
When it comes to water heater flushing, the right tools and safety precautions are paramount for an effective and efficient process. Gather essential items like a garden hose, plastic buckets, gloves, and protective eye wear before beginning. These simple yet crucial tools ensure your comfort and safety while preventing any potential damage to your heater or surrounding areas.
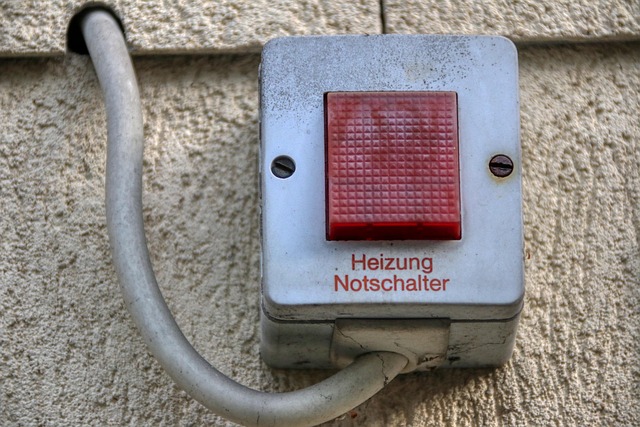
Remember, water heaters operate at high temperatures, so proper precautions are vital. Always turn off the gas or electric supply to your heater before starting. Wear protective gear to shield yourself from scalding water and hot components. Additionally, placing buckets beneath the drain valve allows for safe collection of sediment and old water, preventing any mess during the flushing process—an essential step in maintaining optimal water heater performance and longevity.
Step-by-Step Guide to Proper Water Heater Maintenance
Proper water heater maintenance is crucial for ensuring optimal performance and longevity of your heating system. Here’s a step-by-step guide to keep your water heater in top shape:
1. Turn Off the Water Supply: Before beginning, shut off the cold water inlet valve located on the side or front of your water heater. This prevents any unexpected hot water usage during maintenance.
2. Drain the Tank: Attach a garden hose to the tank’s drain valve and direct it to a safe location, such as a flower bed or drainage pit. Open the valve slowly to allow the tank to drain completely. This step helps remove sediment buildup at the bottom of the tank.
3. Inspect and Remove Sediment: After draining, lift off the access panel on the tank’s side to inspect for any sediment accumulation. Use a vacuum or wire brush to carefully remove any built-up sediment. This process improves water circulation and prevents it from heating up sediment instead of fresh water.
4. Rinse and Reassemble: Rinse the tank’s interior with warm water to wash away any remaining residue. Reattach the access panel, ensure all connections are secure, and turn on the cold water supply. Give the system a few minutes to fill before turning on the heater to prevent any leaks.
Proper water heater flushing is an essential part of regular water heater maintenance, ensuring optimal performance and longevity. By understanding the importance and following a simple step-by-step guide, you can effectively remove sediment buildup and prevent costly repairs or premature replacement. Remember, regular maintenance is key to avoiding unexpected disruptions in your hot water supply and keeping your energy costs down. So, take the time to learn and perform this vital task as part of your home’s overall care routine.